How to Replace an Exhaust Manifold Gasket: A Detailed Step-by-Step Guide
Replacing the exhaust manifold gasket is an important maintenance task that helps ensure the proper operation of your car’s engine and the effectiveness of your exhaust system. If the exhaust manifold gasket is damaged or aged, it may cause exhaust leaks, affecting engine performance and fuel efficiency. The following is a step-by-step guide to replacing the exhaust manifold gasket to help you complete this task.
1. Preparation
Tools and Materials:
Wrench and socket set
Torque wrench
Bolt loosener (if necessary)
Cleaning agent and cloth
Safety gloves and goggles
Safety measures:
Make sure the car is in a stable state, use the jack and stand to lift the body, and make sure it is firm.
Operate after the engine is cool to prevent burns.
2. Remove the old exhaust manifold gasket
Disconnect the battery:
To avoid accidental contact with the electrical system, first disconnect the negative terminal of the battery.
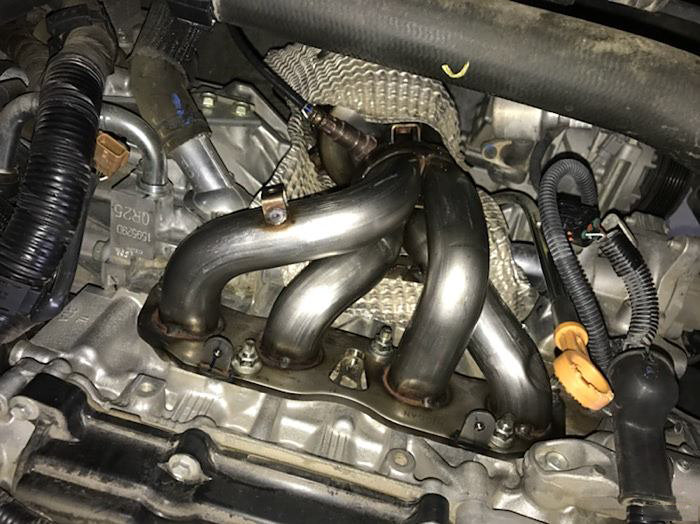
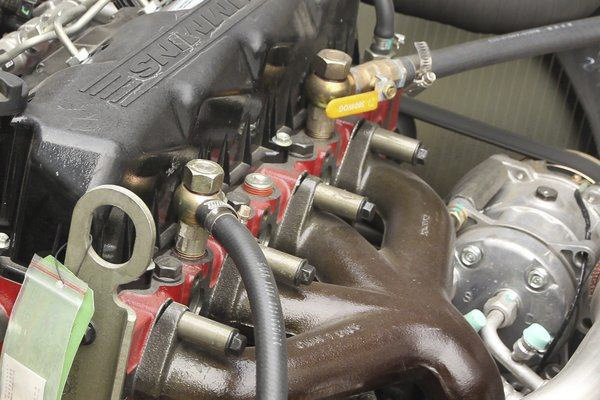
Remove the exhaust manifold:
Find the location of the exhaust manifold, usually on one side of the engine.
Use a wrench to loosen and remove the fixing bolts on the exhaust manifold. During this process, if you find that the bolts are rusted or too tight, you can use a bolt loosener.
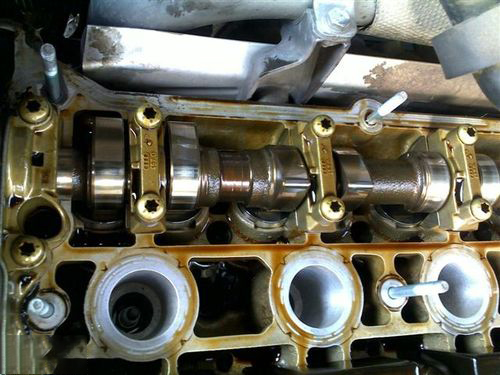
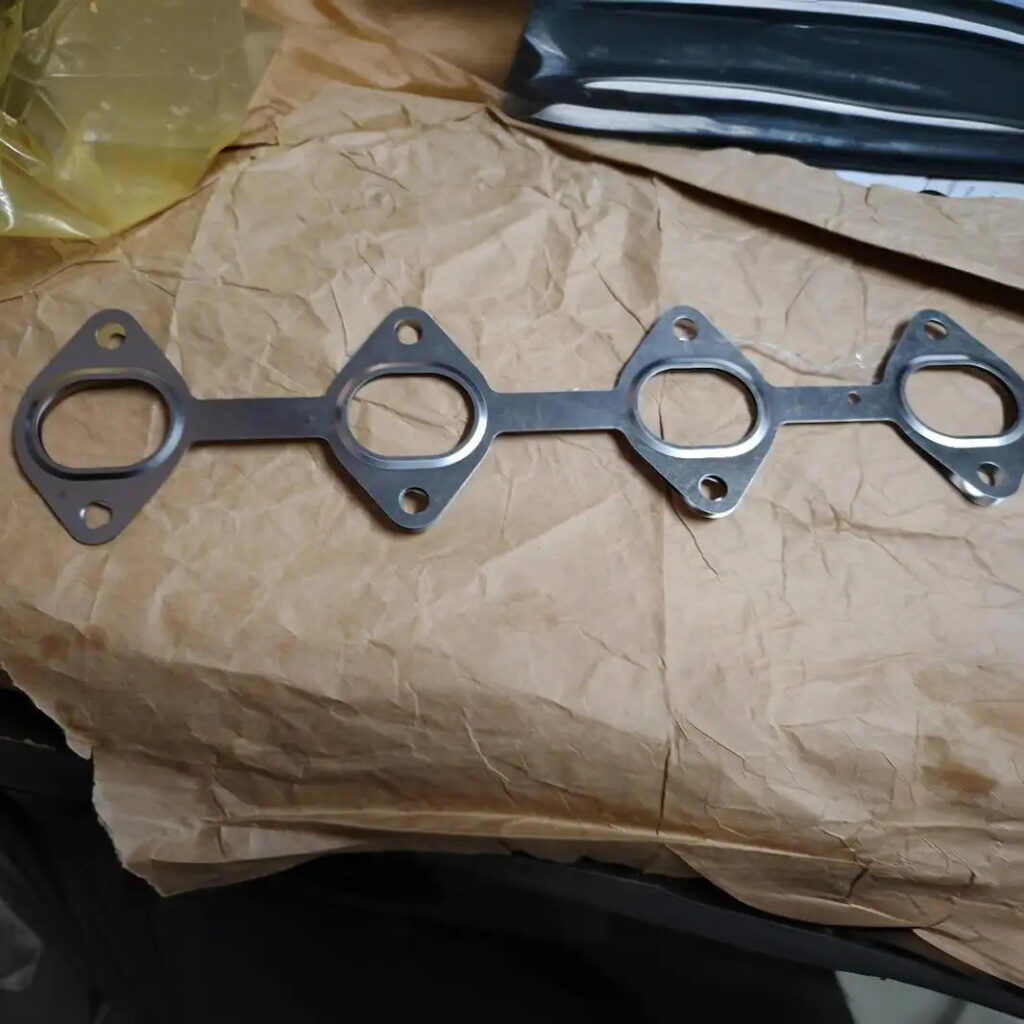
Remove the old gasket:
After removing the exhaust manifold, the old gasket can be seen. Use a tool to gently pry and remove the old gasket.
Check the contact surface between the manifold and the cylinder head to ensure that there are no remaining old gasket fragments or dirt.
3. Install the new exhaust manifold gasket
Cleaning the contact surface:
Use a cleaner and cloth to wipe the exhaust manifold and cylinder head contact surface to ensure that they are clean and flat.
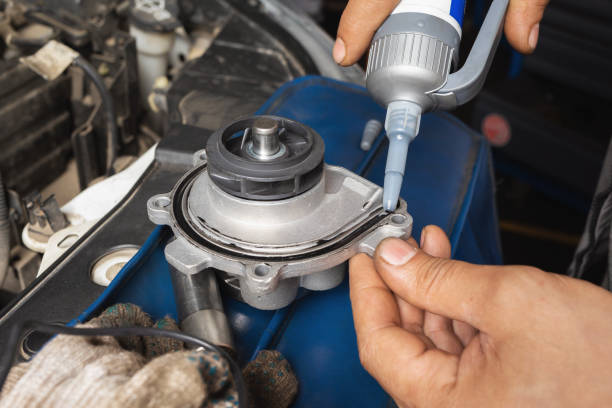
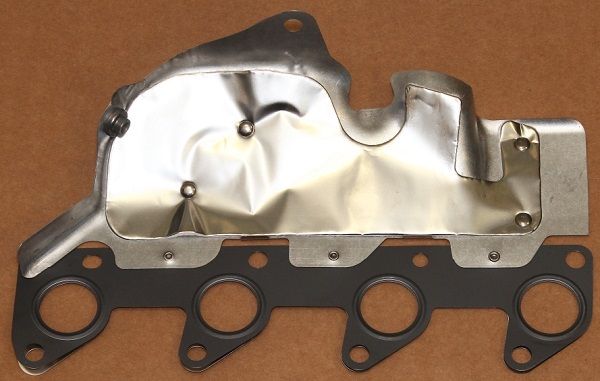
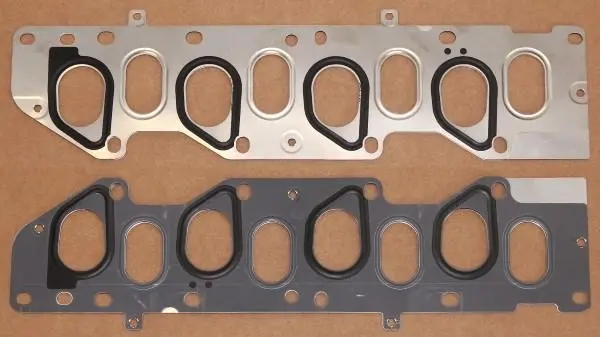
Install the new gasket:
Place the new exhaust manifold gasket on the cylinder head and align the bolt holes.
Realign and put the exhaust manifold back in place to ensure that the gasket is properly in place.
Secure the exhaust manifold:
Use your hands to lightly tighten the bolts first to ensure that the exhaust manifold is in the correct position.
Then use a torque wrench to tighten the bolts step by step according to the torque value specified by the manufacturer. It is usually recommended to cross-tighten to ensure uniform force.
4. Complete the installation and inspection
Reconnect the battery:
After ensuring that all parts are installed, reconnect the negative terminal of the battery.
Check for leaks:
Start the engine and check for leaks at the exhaust manifold and gasket connection. If a leak is found, the gasket may need to be readjusted or replaced.
Test drive and observe:
Test drive the engine on the driveway to observe whether it runs smoothly and whether there are any unusual sounds or exhaust problems. After confirming that everything is normal, the work of replacing the exhaust manifold gasket is completed.
5. Summary
Replacing the exhaust manifold gasket is a task that requires certain skills and tools, but as long as you follow the above steps carefully, even car owners without much experience can successfully complete it. During the operation, always pay attention to safety, make sure the car is in a cool state, and use appropriate tools and torque values. By replacing the exhaust manifold gasket in time, you can effectively maintain the performance of the car and extend the service life of the engine.