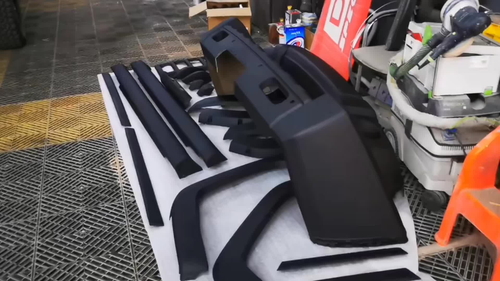
How to paint automotive plastic parts? A comprehensive guide
Painting plastic automotive parts is a job that can make your vehicle look brand new, both for aesthetics and protection. Plastic car parts include bumpers, mirror housings, interior trims, and other decorative parts. Although plastic is a difficult material to paint, by using the right tools, materials, and techniques, you can achieve long-lasting and professional results. Here is a detailed step-by-step guide.
Preparation
1.Tools and Materials:
Plastic Cleaner
Sandpaper (400 and 800 grit)
Plastic Primer (adhesion promoter)
Automotive Spray Paint (depending on the color you want)
Clear Coat
Spray Gun or Spray Can
Mask and Gloves
Protective Glasses
Rags and Bucket
Tape and Masking Paper
2.Choose a Proper Working Environment:
Choose a well-ventilated area, such as a garage or outdoors, and make sure there is no dust or other contaminants around. Use a protective cloth or plastic sheet to protect the surrounding environment from the effects of the spray paint.
Step 1: Clean Plastic Parts
Wash the plastic parts thoroughly with a plastic cleaner and water. Remove all grease, dirt, and wax. This step is very important because any residue will affect the adhesion of the paint. Rinse with clean water and wipe dry with a clean rag.
Step 2: Sand the plastic surface
Use 400 grit sandpaper to lightly sand the surface of the plastic part. The goal is to create a certain roughness on the surface so that the primer can adhere better. Be careful to sand evenly and wet the sandpaper with water to prevent overheating the plastic surface. When you are finished, sand again with 800 grit sandpaper to get a smoother surface.
Wipe away the dust from the sanding with a clean rag, then rinse the part thoroughly with water and finally dry it.

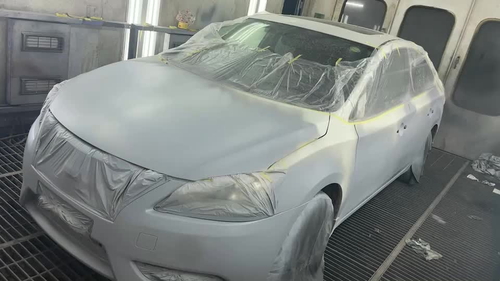
Step 3: Masking and preparing for painting
Use tape and masking paper to cover the parts that do not need to be painted. Make sure the edge of the masking paper is close to the edge of the part to prevent paint from penetrating.
Step 4: Apply plastic primer
Before painting, you must first apply a layer of plastic primer (adhesion promoter). This is an important step because ordinary paint has a hard time adhering directly to plastic. Plastic primer helps the paint adhere better to the plastic surface.
Gently shake the primer spray can and spray a thin coat of primer evenly from the appropriate distance (usually 15-20 cm) according to the product instructions. Keep your hand steady while spraying to ensure that the coat covers the entire surface of the part evenly. Allow the primer to dry, which usually takes 10-15 minutes.
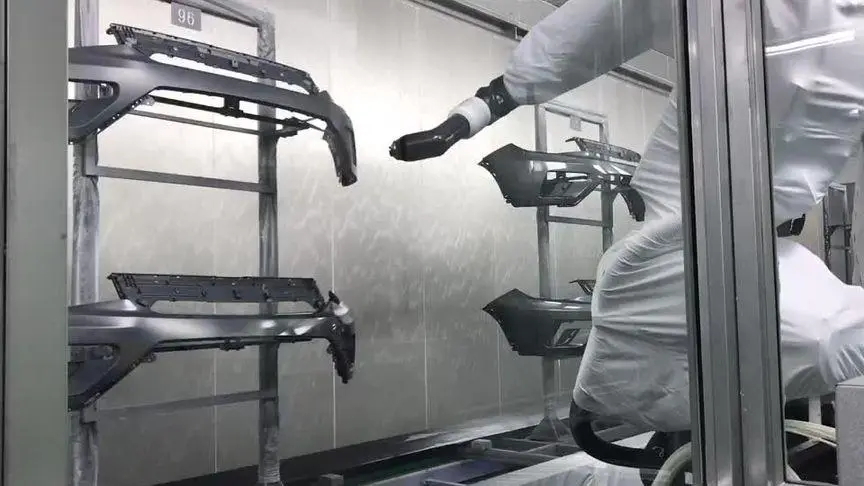
Step 5: Spray the car paint
Prepare the paint:
If using a spray gun, mix the paint and thinner according to the paint manufacturer’s ratio. Make sure the paint color matches the color of the vehicle.
Spray the paint:
Gently shake the spray can or spray gun and spray a thin coat of paint evenly from the distance of 15-20 cm. Do not spray too thick at one time to avoid sags and drips.
Apply multiple layers:
Allow the first coat of paint to dry (usually 10-15 minutes) before spraying the second coat. Spray 2-3 coats of paint as needed to ensure that the color is saturated and evenly covered. Allow to dry between each coat.

Step 6: Spray clearcoat
Clearcoat is to provide additional protection to the paint surface and increase the gloss. After the last coat of paint is completely dry, apply 2-3 coats of clear coat using the same technique. Allow 10-15 minutes of drying time between each coat.
Step 7: Allow the paint to dry
Allow the painted plastic part to dry in a dust-free environment for 24 hours. Drying time may vary depending on temperature and humidity. Make sure the part is completely dry to prevent damage to the paint during installation.
Step 8: Inspect and reinstall
After the paint is completely dry, inspect the part for any imperfections or unevenness. If needed, lightly sand with fine sandpaper and repaint.
Carefully remove the masking paper and tape to avoid damaging the fresh paint. Then, reinstall the plastic part back on the car, making sure it is securely fastened.
Conclusion
Painting the plastic parts of your car is a job that requires patience and meticulousness. By following the steps above, you can achieve a professional paint job and extend the life of your plastic parts. Regular maintenance and restoration of your car’s exterior will help improve the overall appearance and value of your vehicle. If you are not confident about DIY painting, you may also consider leaving the job to a professional auto repair shop.