How to change cabin air filter – a step-by-step guide
Changing your car’s cabin air filter is a routine maintenance task that helps keep the air inside your vehicle fresh while preventing dust, pollen, and other pollutants from entering. Here is a detailed guide on how to change your car’s cabin air filter.

How to replace the car’s air conditioning filter
I. Preparation
Confirm the tools and materials needed:
New air conditioning filter (choose the appropriate model according to your car model).
Screwdriver (depending on the car model, usually a Phillips screwdriver).
A clean rag or small flashlight (for viewing and cleaning).
Check the vehicle manual:
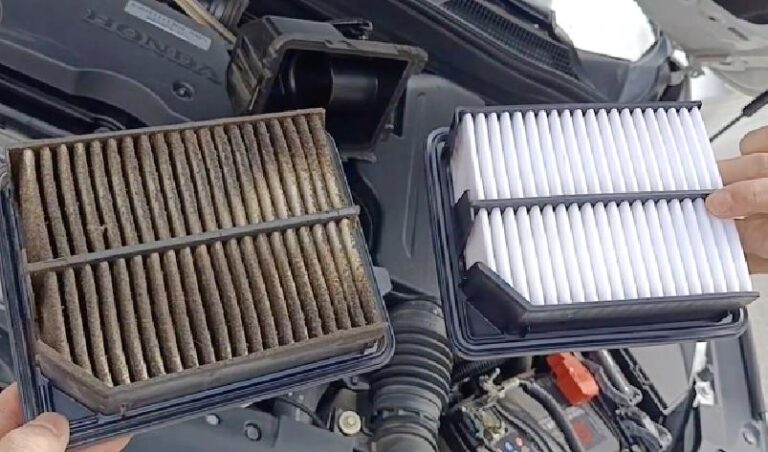
The location of the air conditioning filter may be different for each car. Some models have the filter behind the passenger glove box, while others are located in the engine compartment. Checking the vehicle manual can help you find the correct location.

2. Step Guide
Locate the air conditioning filter:
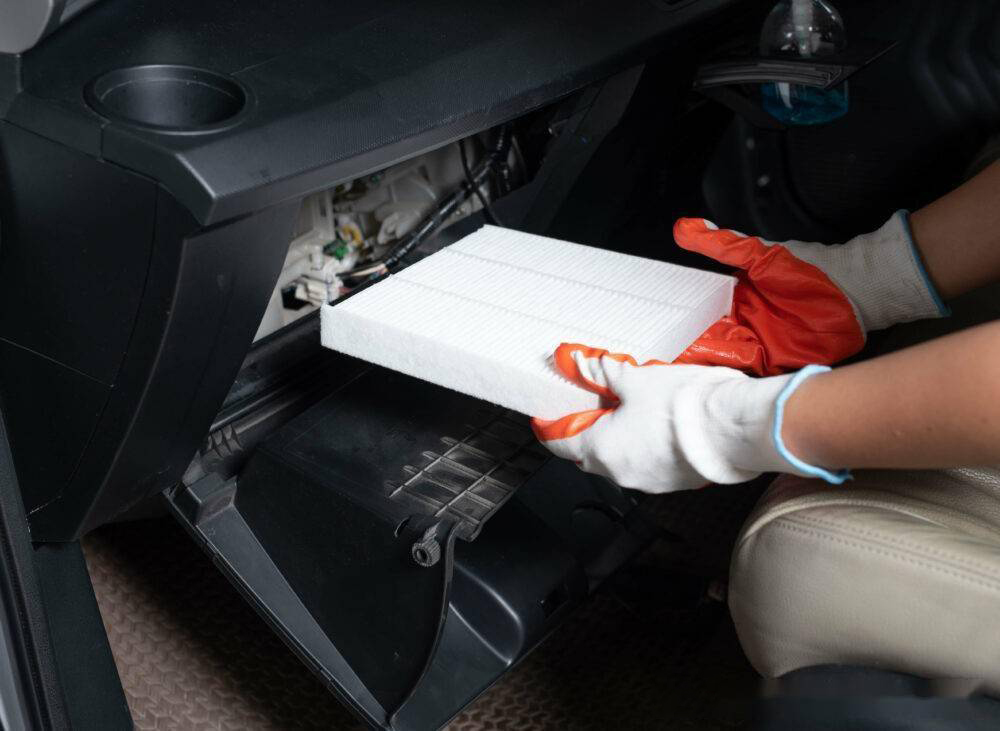
The air conditioning filter of most models is located behind the co-pilot glove box. First, open the glove box and take out the items inside.
Check whether there are baffles or locks on both sides of the glove box, loosen or remove them so that the glove box can be fully lowered.
Remove the old filter:
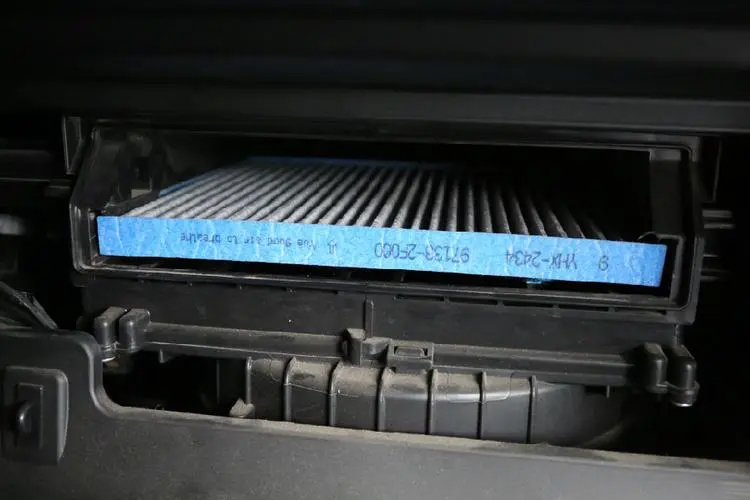
There is usually a rectangular filter cover behind the glove box. Find the clips or screws on the cover, loosen the screws with a screwdriver, or press the clips to remove the cover.
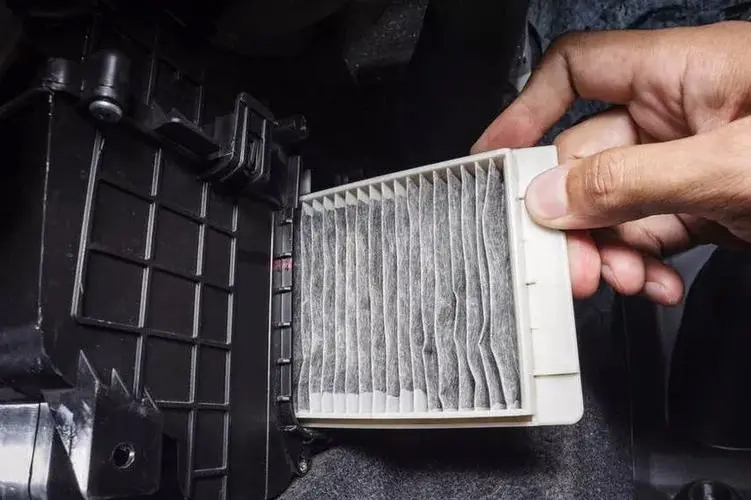
Remove the old air conditioning filter. Pay attention to the direction of the old filter because the new filter needs to be installed in the same direction.
Check and clean the filter slot:
Before installing the new filter, check whether there is any debris or dust in the filter slot. You can use a clean rag to clean it to ensure that the slot is clean.
Install the new filter:
Put the new air conditioning filter in the filter slot. Make sure its direction is consistent with the old filter. Usually there is an arrow on the filter to indicate the direction of air flow.
Install the filter cover, making sure the clips or screws are tightened.
Reinstall the glove box:
Return the glove box to its original position and re-secure the baffle or latch. Make sure the glove box can be opened and closed normally.

3. Inspection and testing
Start the car and turn on the air conditioning:
After changing the filter, start the car and turn on the air conditioning system. Check for any odor or smooth air circulation.
Observe the filter working condition:
Usually, the air quality in the car will be significantly improved after changing the filter. If there is still an odor, you may need to check other parts or change the filter more frequently.

4. Maintenance recommendations
Regular replacement:
It is generally recommended to replace the air conditioning filter every 10,000 to 15,000 kilometers or every 6 to 12 months, depending on the driving environment and usage.
Pay attention to the use environment:
If you often drive in areas with severe air pollution, you may need to replace the filter more frequently.
Replacing the air conditioning filter is a simple and do-it-yourself maintenance task that can help you keep the air in your car fresh and improve driving comfort. By regularly checking and replacing the air conditioning filter, you can ensure the quality of the air in your car and protect the health of your passengers.


